
My Gaius cosplay is the first cosplay that I’ve actually documented (most of) my progress. For any future Gaius cosplayers, perhaps this can be of use to you~!

As usual, first things first, I collected reference images (the most helpful of which was concept art for Gaius – seen above) and the materials I will be using. I like to try to have everything already purchased before I begin, but here that wasn’t quite the case.
First off, fabrics! The first picture contains things I purchased at Joann Fabrics. The pants I made out of a black “silky solid” material (it felt nice xD though it frayed like crazy), the pant satchel thing is brown duck cloth, and the cloak is made out a heavy black knit (ponte roma, I believe). As for the greys for the shirt, I got those at Hancock Fabrics. I’m pretty sure the light grey is a knit, but I’m really not sure about the darker grey.
If I recall correctly, these are a rough estimate of the yardage for them:
Pants: 1.5 yards, Satchel: 1 yard, Cloak: 2 yards, Light & Dark Grey: 1.5 yards each
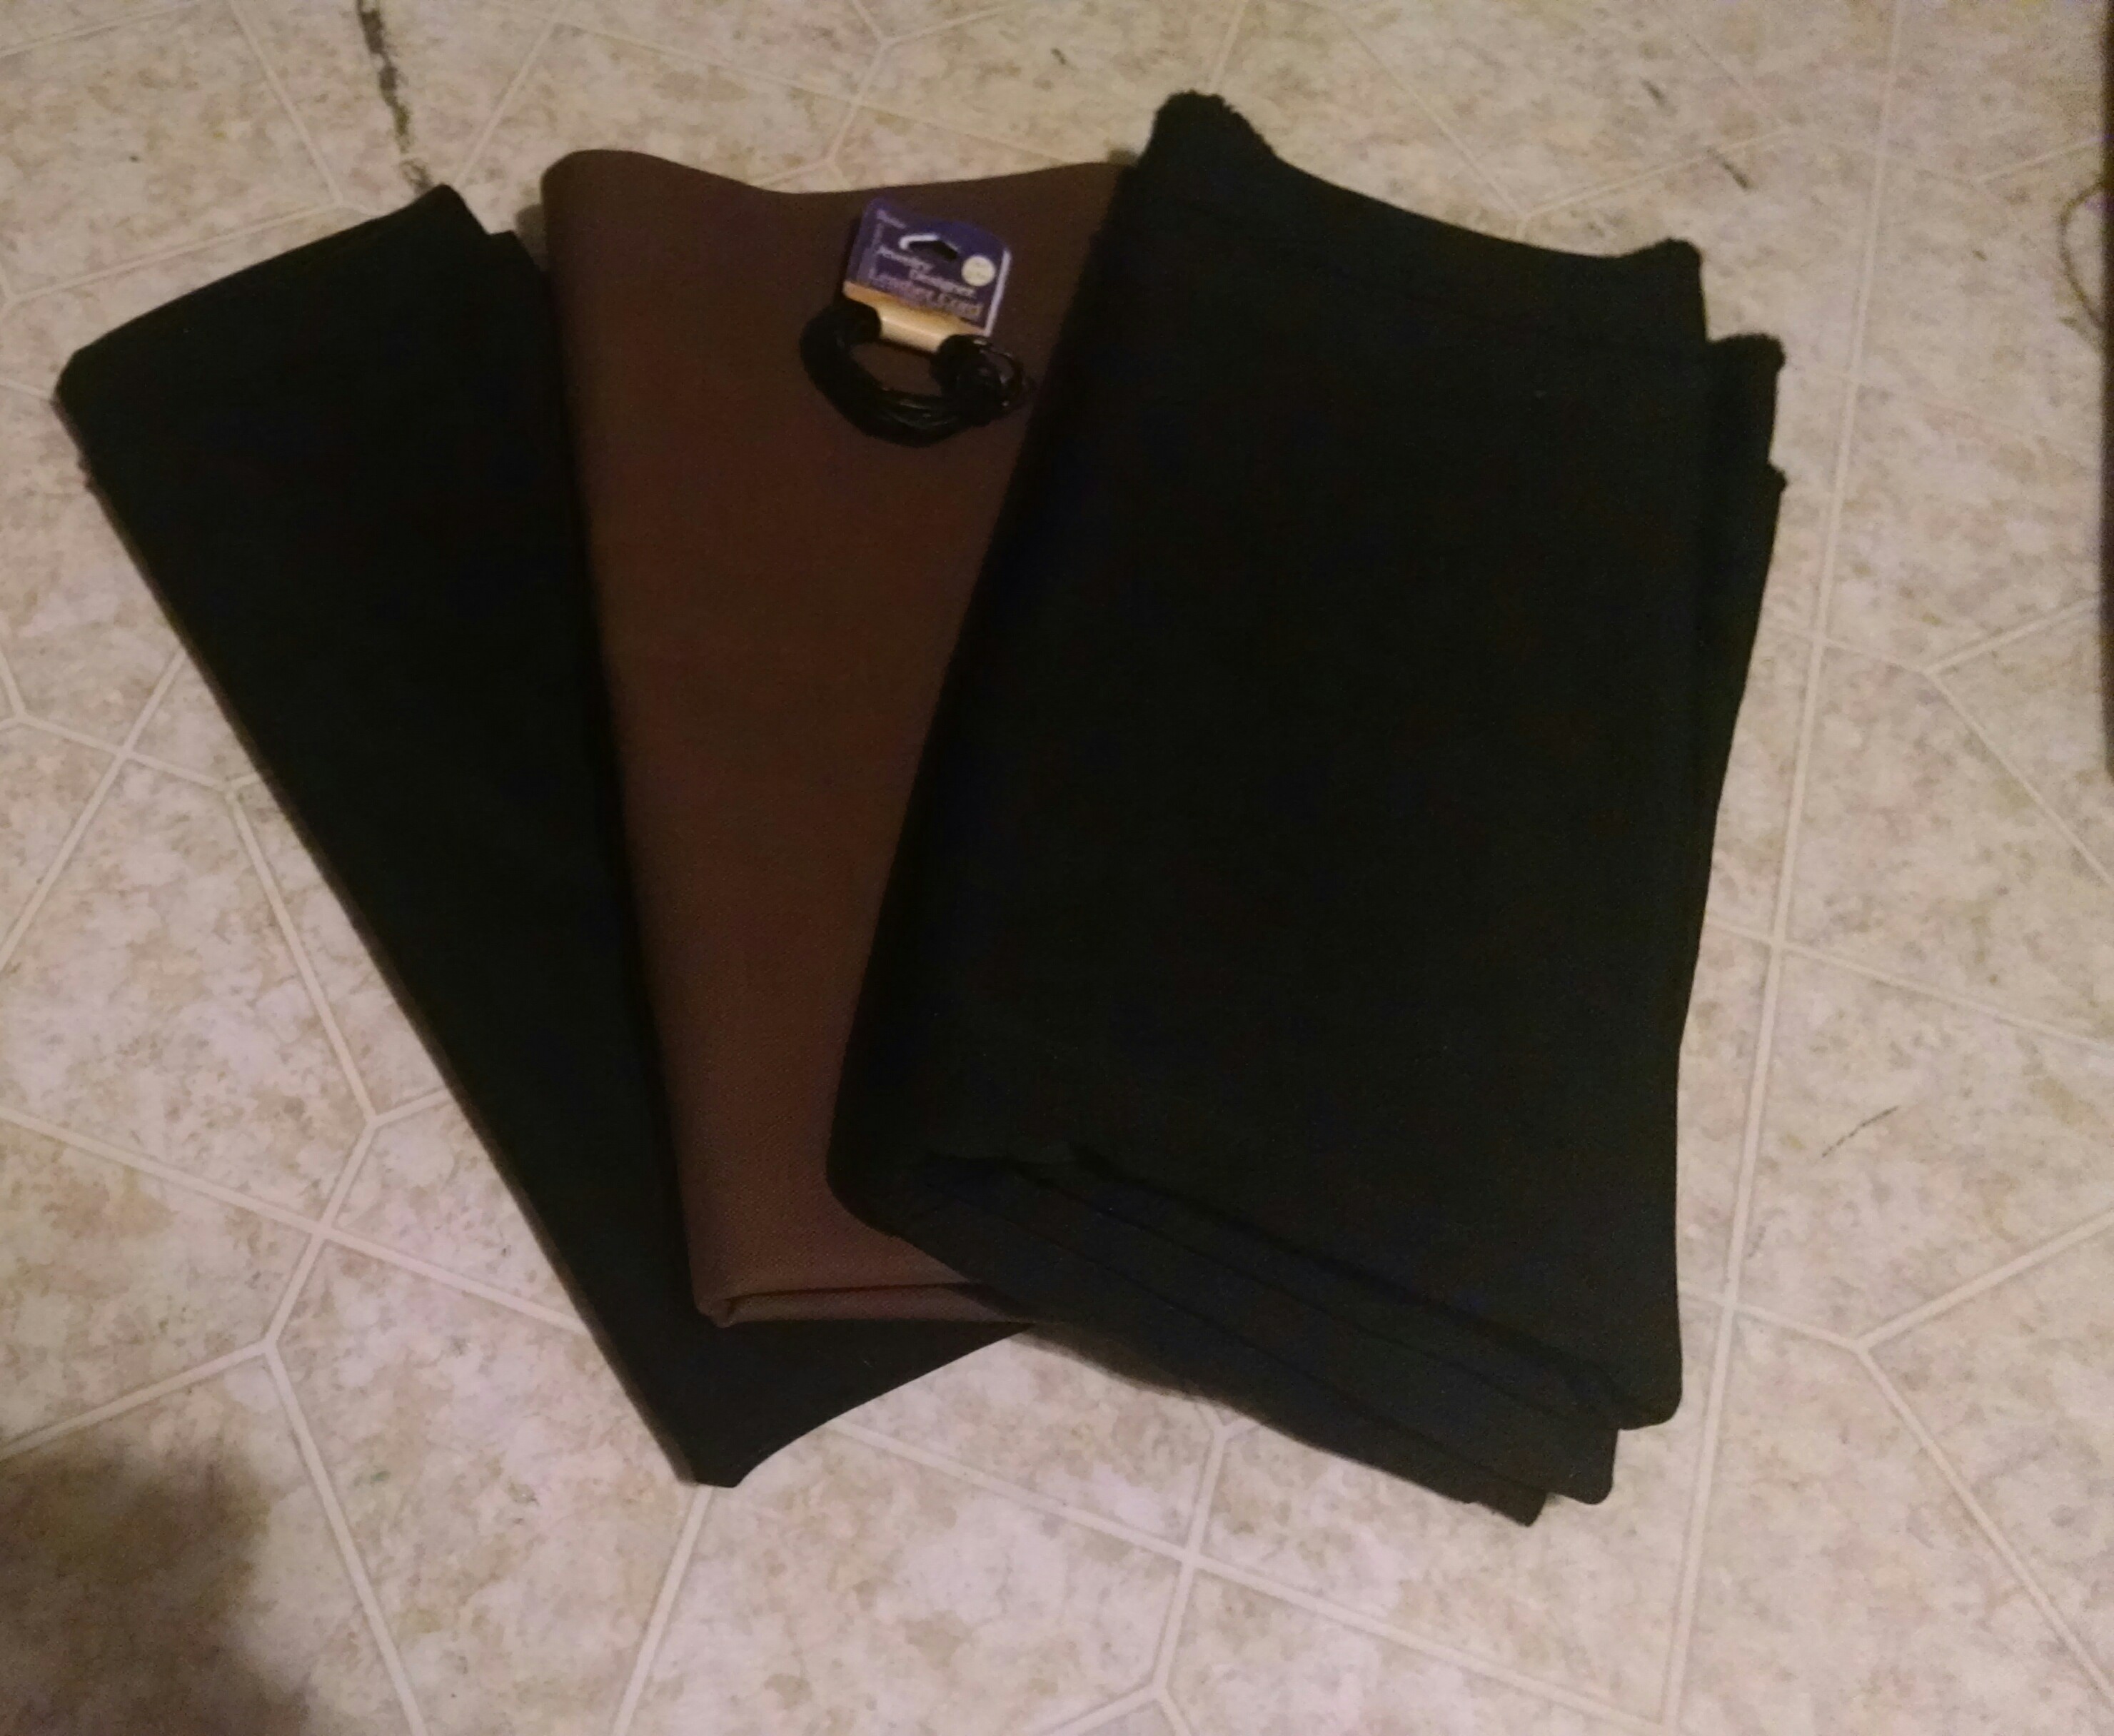

As you can see in the first image above, I also purchased some black leather cording. That’s for Gaius’s sleeves much later. While on the topic of cording, I bought some gray-ish suede cording at Walmart that I used for the criss-crossy part on the top of his shirt. That’ll be shown later as well. But moving on!
After I collected my most basic materials, I drafted a pattern for the shirt (just out of wrapping paper) and created a mock-up out of fabrics I had laying around.
There’s always a ton of fabric laying around my house because my mom is a big sew-er, so I alwaysalwaysalways make mock-ups before I cut my actual fabric, even though it can be a little annoying sometimes. I’d recommend to anyone else to do the same, if possible, and choose fabrics similar in give to the one(s) that you are using for your cosplay. (My light grey was pretty stretchy, but the dark grey was not much at all.)
On another note, I plan on eventually posting a pattern for the shirt for anyone to utilize, if they wish.

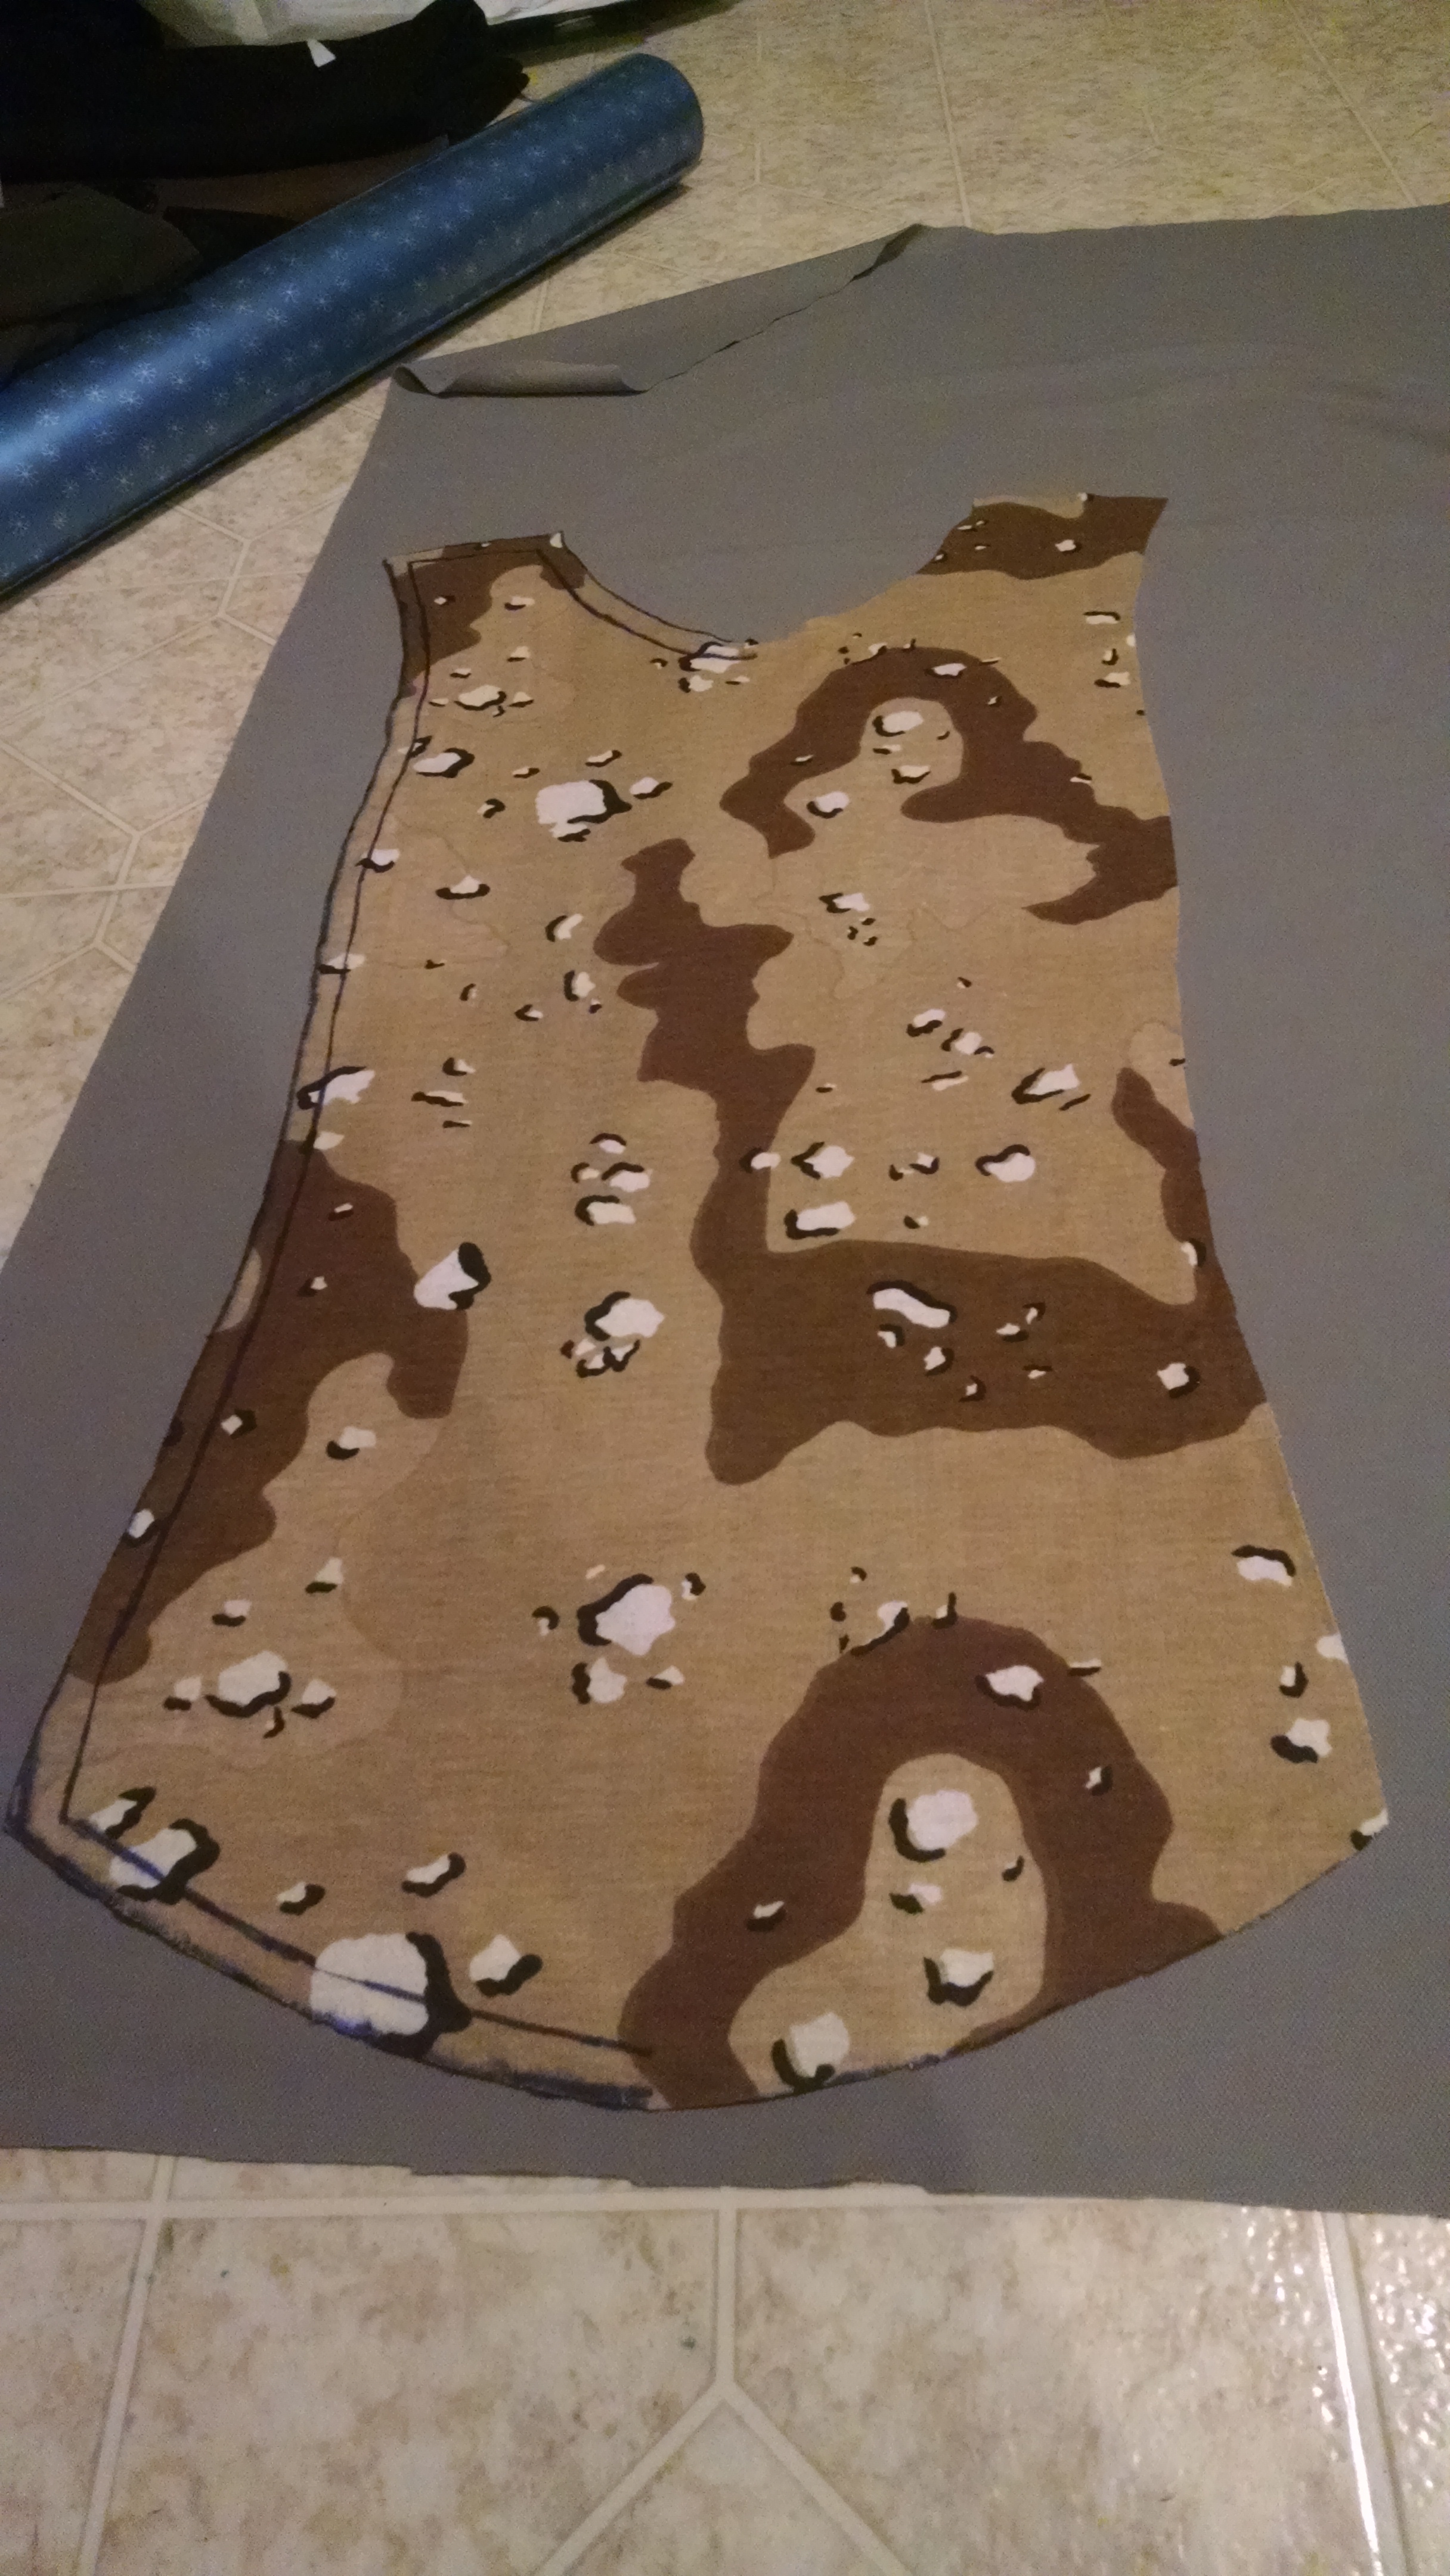
The front and back of the shirt are very similar to each other, though based on my observations, the front has a little more curvature near the breast (for whatever reason) and the back is mostly straight up and down. Also, based on the concept art – which is what I mostly followed – there is a sort of seam down the center of the front, as well as a parting at the bottom of the shirt.
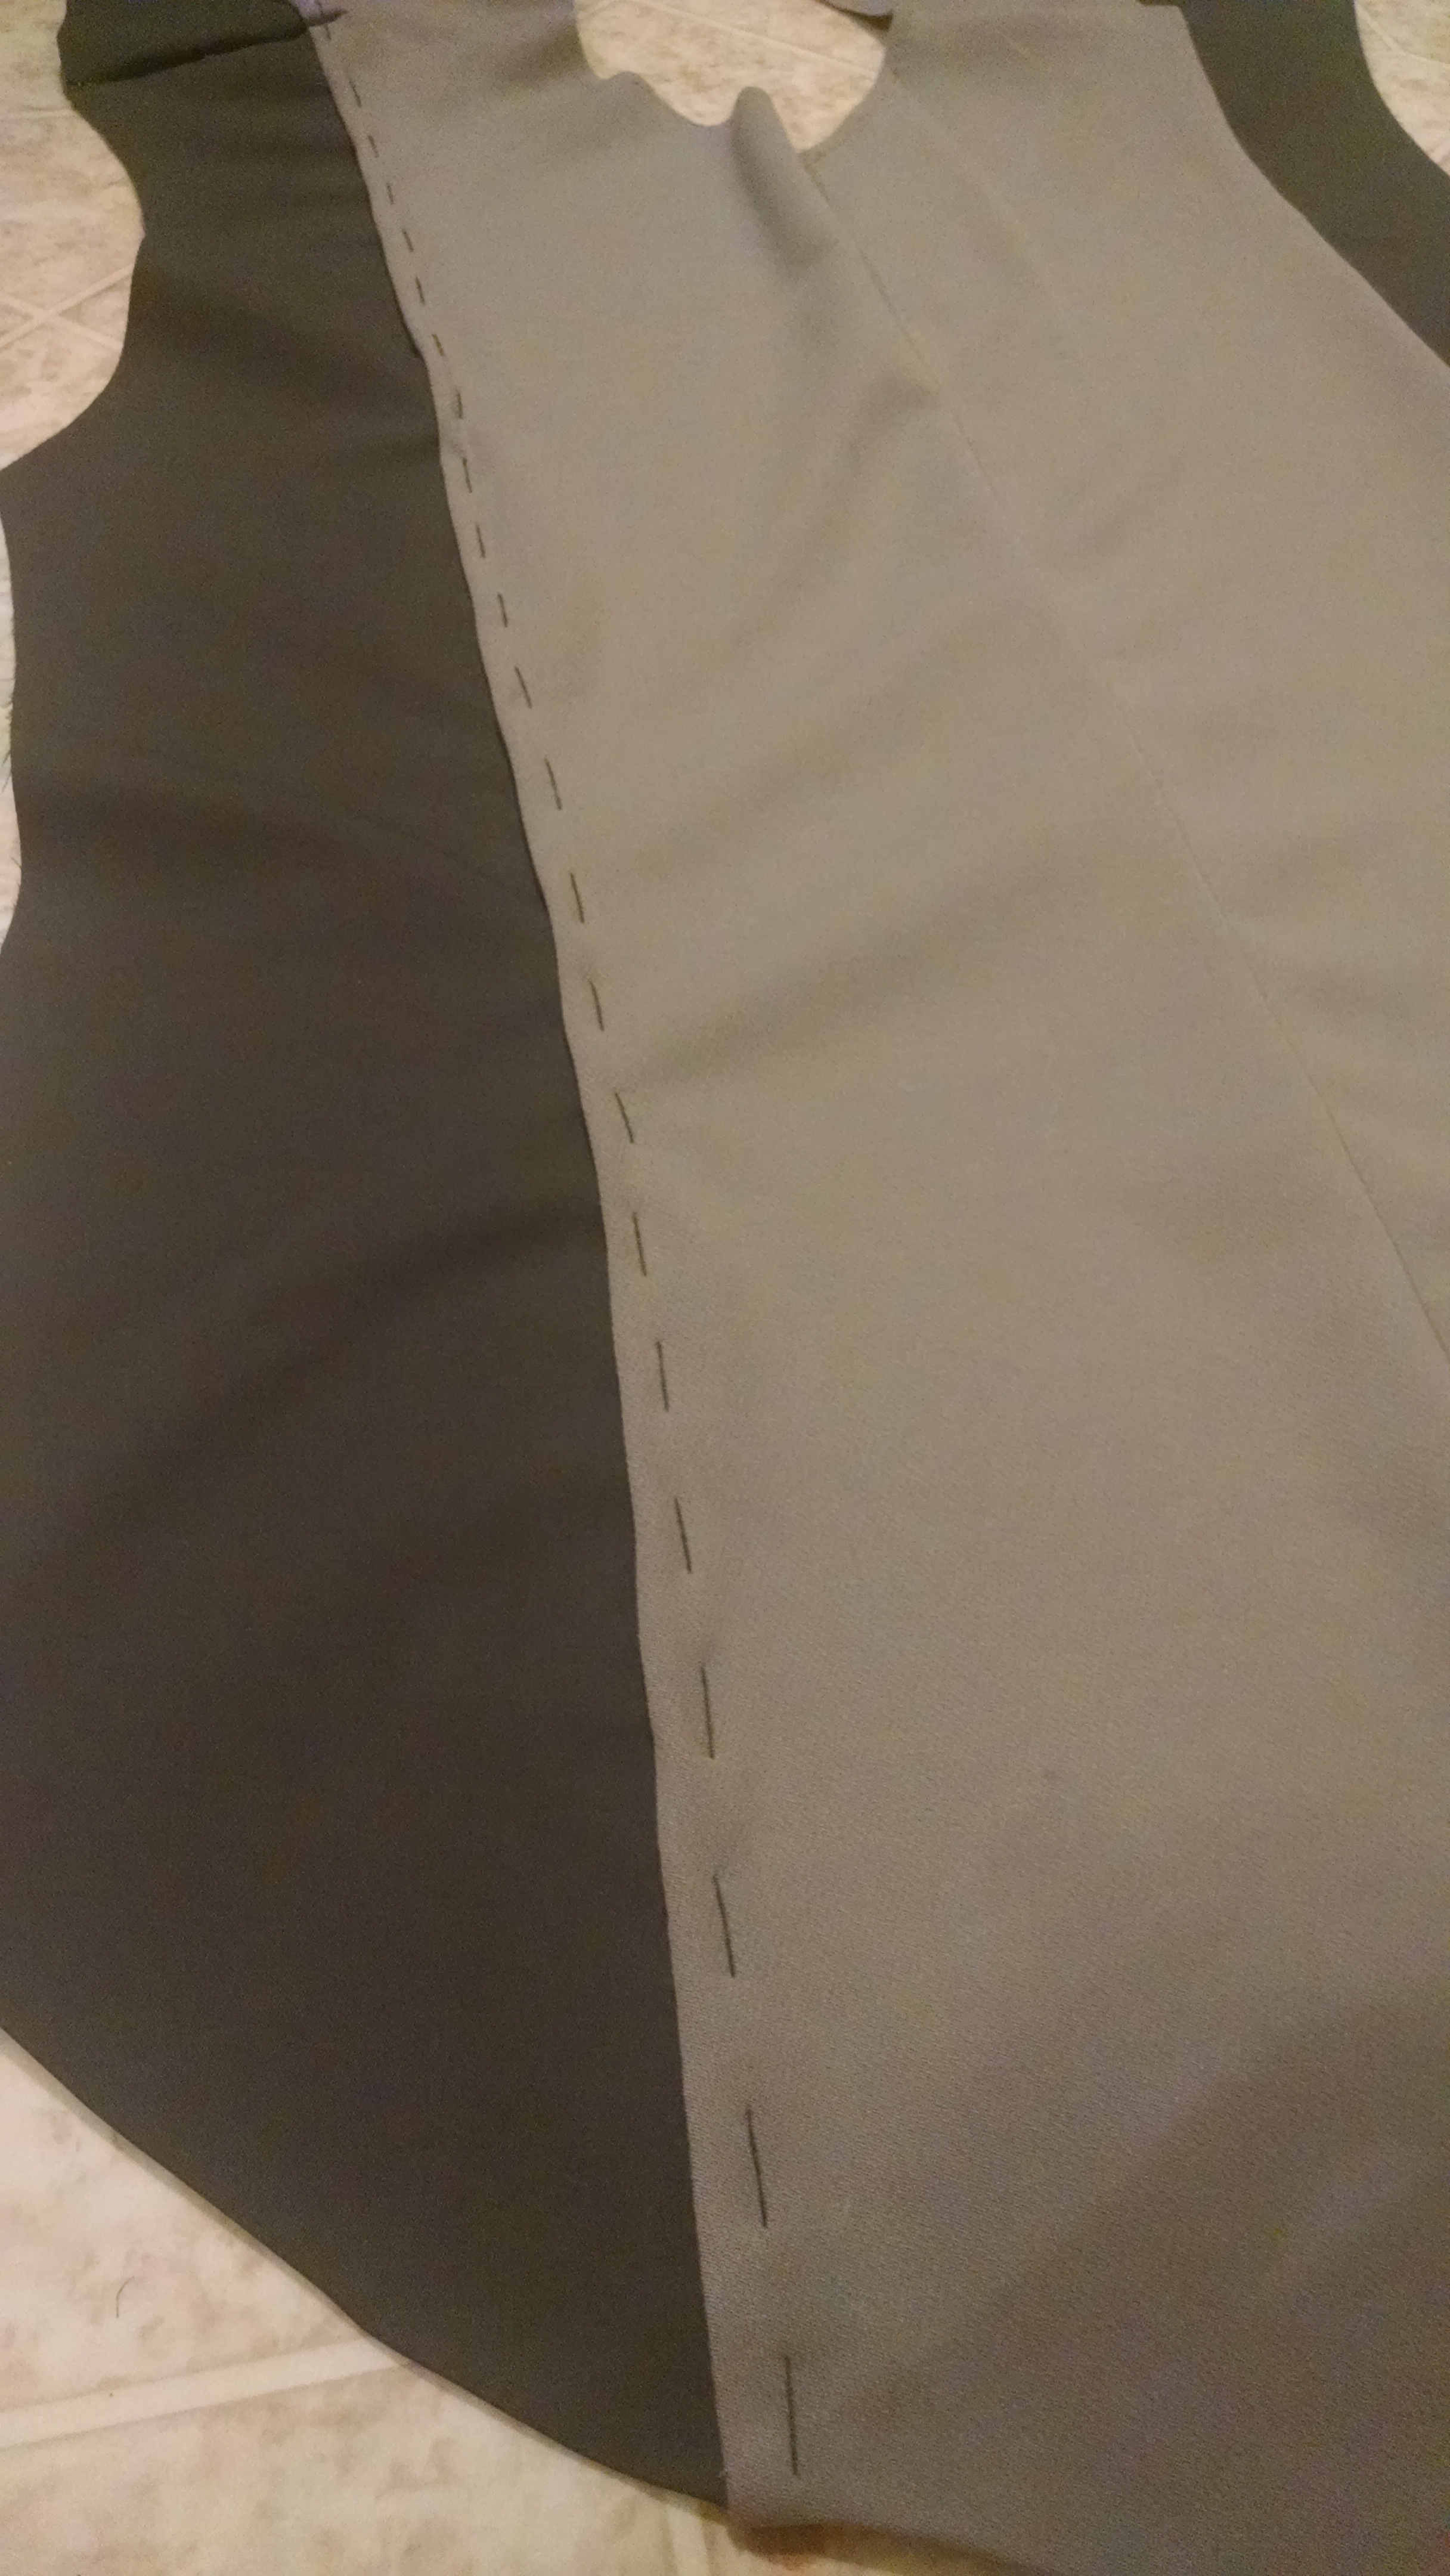
Here’s the front and back after I cut out my fabrics. At this point, everything is just pinned together, and I’m certain I tried it on to make sure it was fitting well, though at that point there isn’t too much I could’ve done if it was too small. x3 As you can see, the sleeve curve on the back is a little wonky, but that’ll get fixed later~

After that, there wasn’t much else to do there but freak out before actually sewing it. I used a zig-zag stitch – partially because I just like the look of it and partially because it’s a good stitch to use when working with stretchy fabrics.


At this point, I hadn’t sewn the sides (in the picture of me wearing it below, it’s merely pinned).I debated hemming it for a very long time because I have this thing where, if I don’t see stitching, I don’t want there to be stitching. Of course, that’s not always possible, but eventually I decided to hem it with some fusible hemming tape. That way, it’d be hemmed, but with no stitching. Win-win!
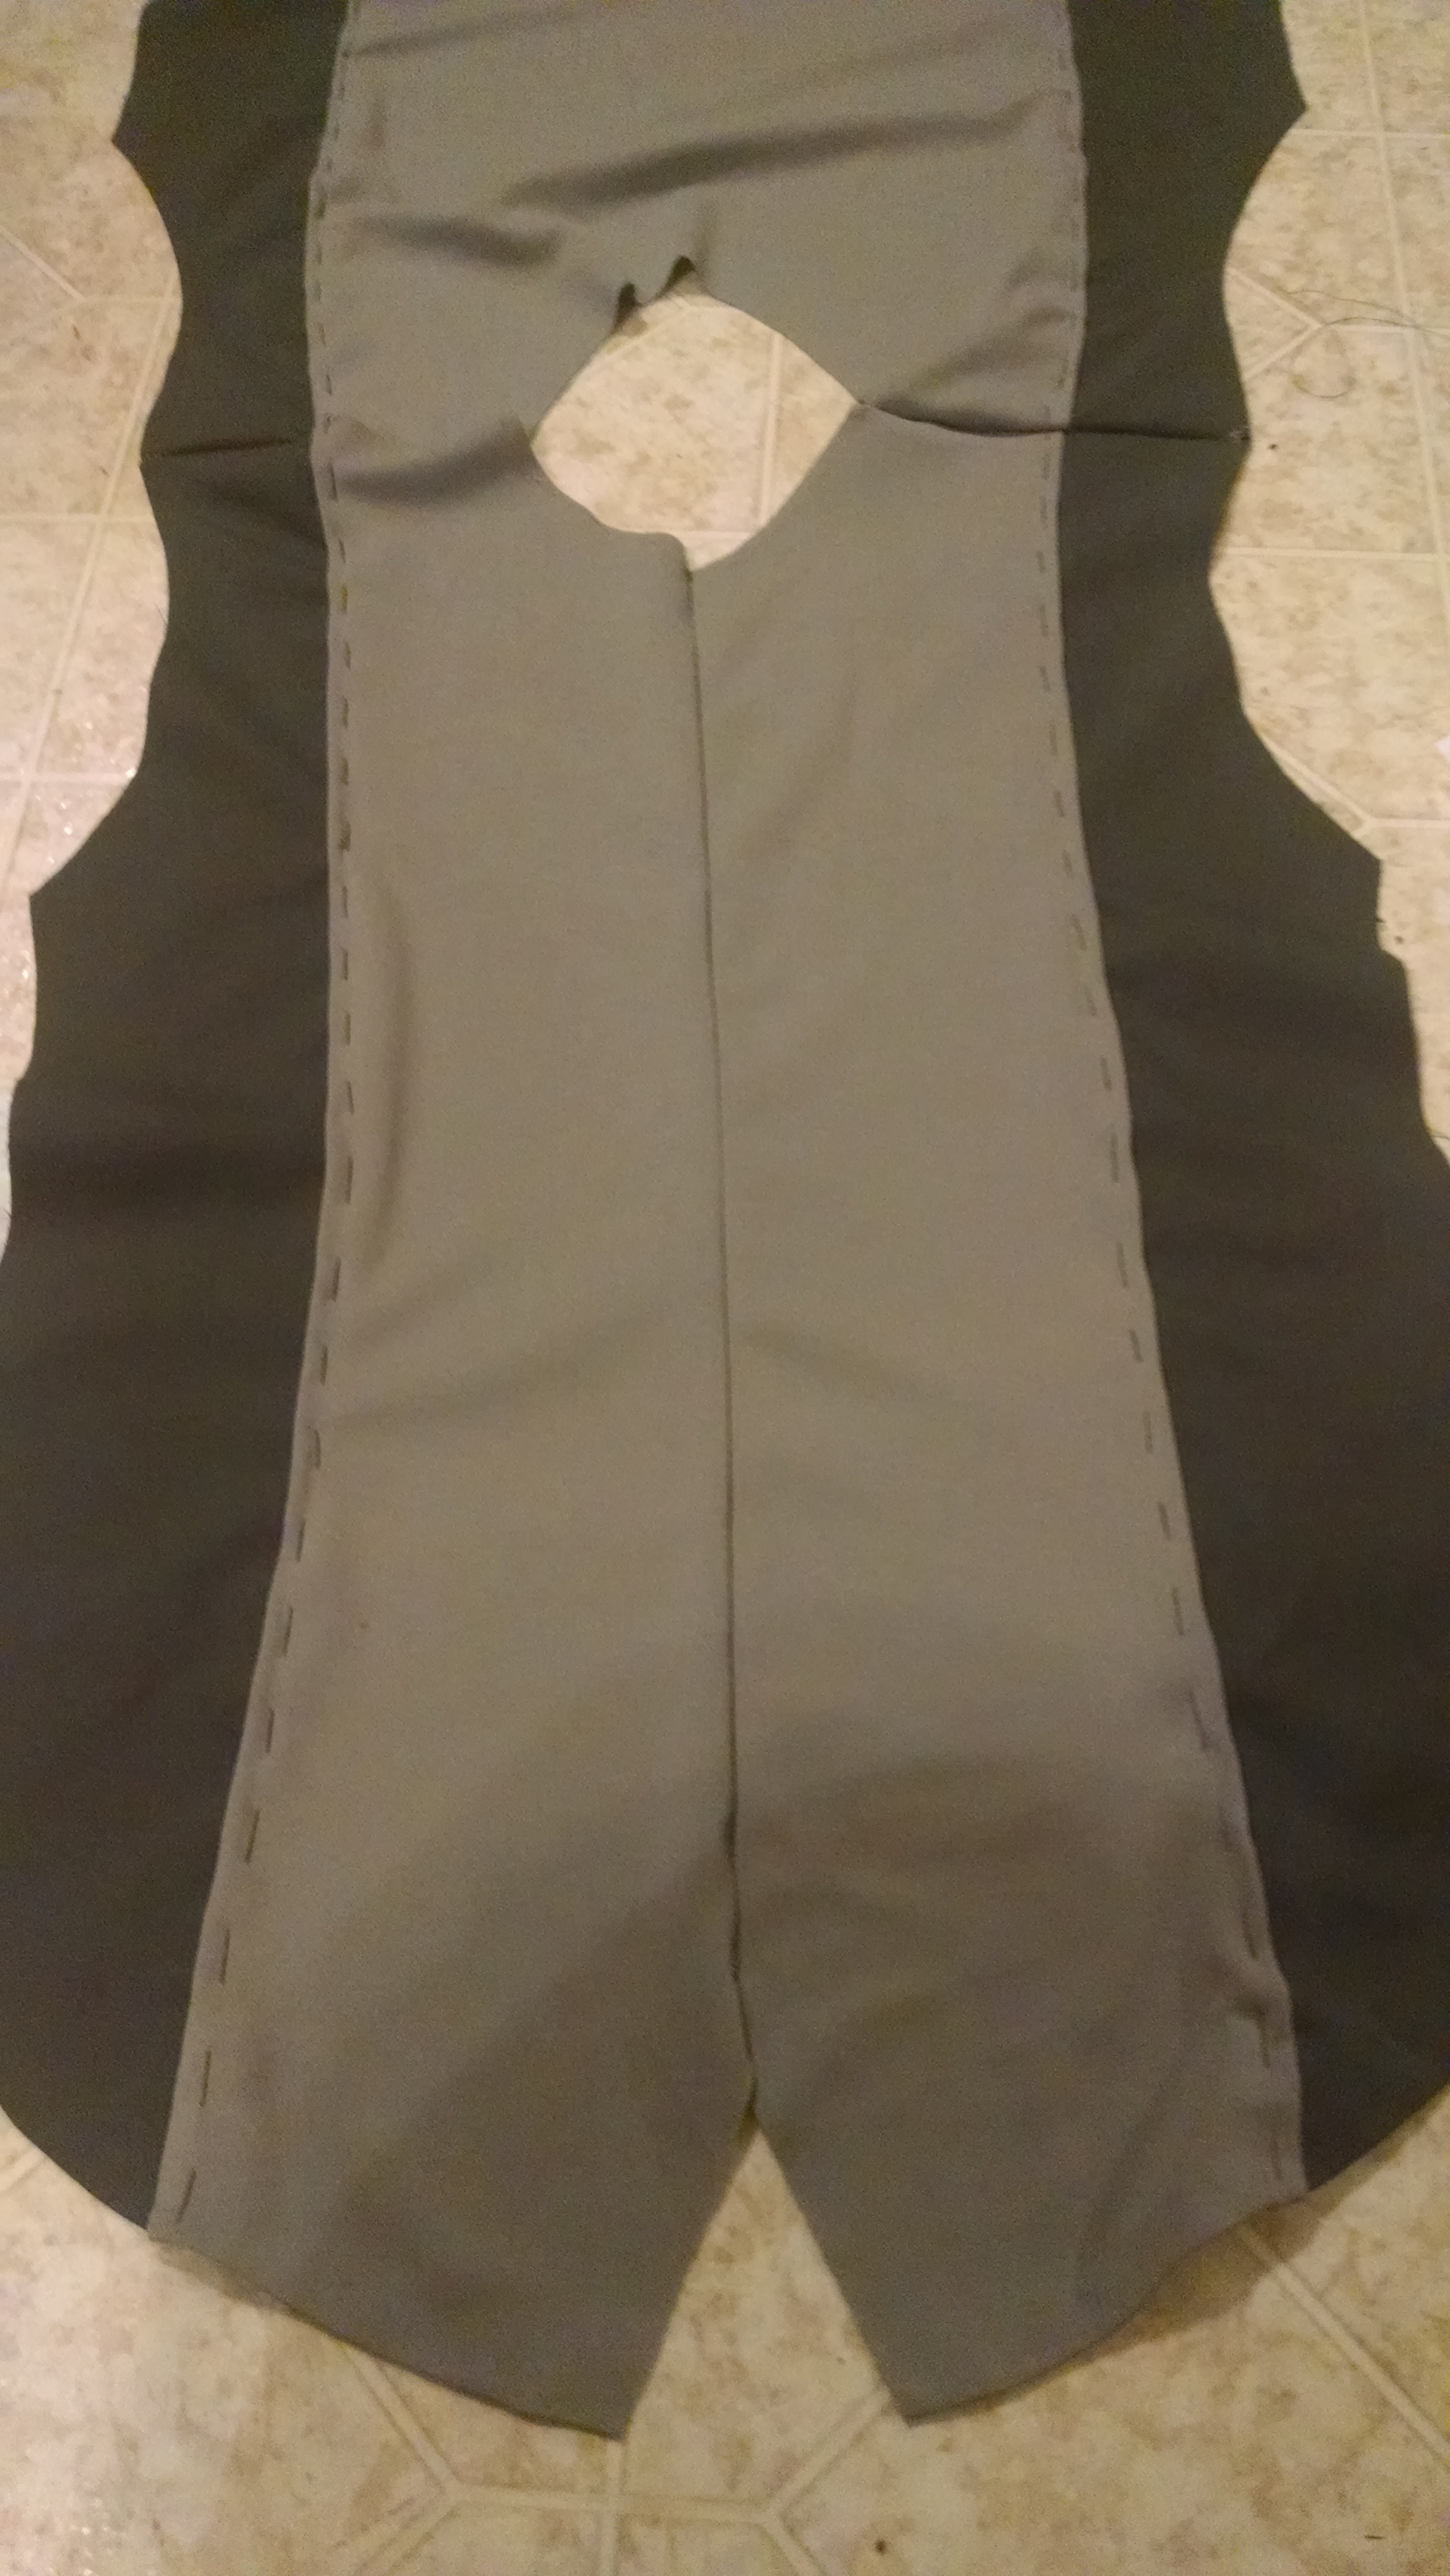
After that, I hand-stitched broken lines up the front and down the back of both sides of the shirt.
To hem along the curved bottom, I had to slightly snip the edges of the fabric so – when tucked under, they overlap slightly and can keep the shape of the curve. (I hope that makes sense @_@) To be honest, it looks kinda bad from the inside, but no one sees it, anyway!


To pretty much finish up the shirt, then, it was flipped inside out and the sides were stitched up! The sleeves were hemmed in the same manner as the bottom of the shirt, and the neckline…well, I actually attempted at making a neckband, which I messed up several times and eventually…kind of got. It looks gross, but fortunately the cloak covers that up.
One final detail I added are those criss-crosses near the top of the shirt, as mentioned near the beginning of the post.
In an attempt to keep everything relatively symmetrical, I taped off the areas where I would be stitching on the cording. Then, from the underside of the shirt, I stitched the end of one strip of cord at one corner of the area. Once that was done, I folded it over and crossed it over to the opposite corner, folding under a stitching the other end of the cord. I then repeated that process for the other three pieces of cording.


Well, that’s it for the shirt! I hope someone somewhere eventually finds something useful. ^_^” If anyone has any questions, feel free to ask!
~ Cayleigh

Your Gaius cosplay is so amazing!!! I was wondering how you made his vest? I tried to look for any tutorials but I couldn’t find one. Help please?
LikeLike
Ah, hi, thank you so much~! I just posted an attempt at a tutorial for that. ^_^ I hope that it helps; if not, or if you still have any questions, ask away!
LikeLike
Omg you’re a life saver. Thank you so much for posting this *0*
LikeLike
Glad to be of assistance~!
LikeLike
Thanks for this, the concept art is going to come in handy for my cosplay. But I don’t really have the time or resources to stitch my own shirt, so I was wondering if you might know of any suitable substitutes to still look accurate to the character?
LikeLike
Hi, sorry for taking so long to get back to you!
The only thing I can think of is possibly altering a plain grey shirt or tank. I know Joann Fabrics sells a double-sided fusible interfacing (and I think Walmart does as well; a hemming tape could also work as well), so if you could somehow get your hands on a dark grey fabric (whether purchasing some or cutting up something you don’t need), you could iron that on instead of sewing it.
An alternative to ironing on the dark side panels could be dying. I’m going out on a bit of a limb here because I’ve never done it myself with fabric (but it works for wigs!) is watering down acrylic paint and using that as a dye. You could maybe use plastic wrap and tape to protect the sections that you don’t want to dye. Again, though, I don’t know how well it would work!
Other than that, trying to find a shirt that already looks like that is the only other thing I can think of. Sorry!!
LikeLike
Hi, I made a Gaius costume for my son for Halloween and you instructions were incredibly helpful, particularly the details on making the pattern. I could not have done it without you, so THANK YOU for taking the time to post all the information and photo.
LikeLike
It’s no problem at all! 😀 I’m so glad I could be of help~!
LikeLike